
My WSL2 and Windows Terminal setup
20 December 2020Windows Subsystem for Linux (WSL) 2 has really changed the game when it comes to open source development on Windows. As a Mac user, I have benefitted from years of developer workflow improvements and enhancements at the command line but now I can bring those into Windows.
This post documents my setup for open source and SharePoint Framework development, why I use certain components and the configuration steps I took.
Windows Subsystem for Linux (WSL) 2
Windows Subsystem for Linux (WSL) 2 gives developers the ability to run Linux containers, benefiting from the improved filesystem performance, from within Windows.
But wait, doesn’t Docker already do that?
Well yes, but what the really nice thing about WSL2 is, how the WSL2 Linux containers can be interacted with from the Window OS, allowing you to do things like, launching Visual Studio code installed in Windows from within the Linux container or opening the Linux file system in File Explorer in Windows, making for seamless switching and really blurring the lines between the two operating systems.
WSL comes into its own for SharePoint Framework (SFPx) development, which uses an open source technology stack, where developing in WSL2 Linux containers hugely improves the performance of installing and building solutions over using the Windows filesystem.
I’m currently running Ubuntu 20.04 LTS which I installed from Microsoft Store after installing WSL on Windows 10.
JetBrains Mono
I like a good font that is easy to read, my current preference at the moment is JetBrains Mono, which is a free and open source typeface designed for developers, in fact it is the very font that you are reading right now.
It has support for ligatures, which hugely helps with readability of code, reducing noise by merging symbols and balancing whitespace between characters more efficiently than regular fonts.
I downloaded the font from the JetBrains website and installed it in Windows.
Windows Terminal
Windows Terminal is a great open source terminal emulator from Microsoft enabling you to switch between different shells with ease and is fully customisable.
I’ve configured JetBrains Mono as my default font to be used across all shells.
{
    "fontFace": "JetBrains Mono",
    "fontSize": 12
}
I’ve added a new profile to create a new shell option for Ubuntu, which defines the name, source, colour scheme and starting directory for new terminal sessions.
I set my starting directory to the home directory of my Linux user (not Windows user) in WSL, this where I store my code repositories taking advantage of speed of the Linux filesystem.
{
    "guid": "{07b52e3e-de2c-5db4-bd2d-ba144ed6c273}",
    "hidden": false,
    "name": "Ubuntu",
    "source": "Windows.Terminal.Wsl",
    "colorScheme": "Atom One Dark",
    "startingDirectory": "//wsl$/Ubuntu-20.04/home/garrytrinder/"
}
I really like the Atom One Dark theme (I also use the same theme in VSCode), so I’ve added that as a new colour scheme.
{
    "name": "Atom One Dark",
    "background": "#282C34",
    "foreground": "#CCCCCC",
    "black": "#000000",
    "blue": "#61AFEF",
    "brightBlack": "#5C6370",
    "brightBlue": "#61AFEF",
    "brightCyan": "#56B6C2",
    "brightGreen": "#98C379",
    "brightPurple": "#C678DD",
    "brightRed": "#E06C75",
    "brightWhite": "#FFFFFF",
    "brightYellow": "#D19A66",
    "cyan": "#56B6C2",
    "green": "#98C379",
    "purple": "#C678DD",
    "red": "#E06C75",
    "white": "#ABB2BF",
    "yellow": "#D19A66"
}
oh-my-zsh
I use zsh as my preferred shell and oh my zsh to help manage my zsh configuration, it comes bundle with thousands of functions, helpers, plugins, and themes.
I ran the script at the command line and followed the instructions to download and install.
sh -c "$(curl -fsSL https://raw.github.com/ohmyzsh/ohmyzsh/master/tools/install.sh)"
I set COMPLETION_WAITING_DOTS="true" and uncommented the line in .zshrc.
By turning on
COMPLETION_WAITING_DOTSI get visual feedback from the command line that my tab completion request has been invoked and that the shell is currently loading the available options
Spaceship ZSH
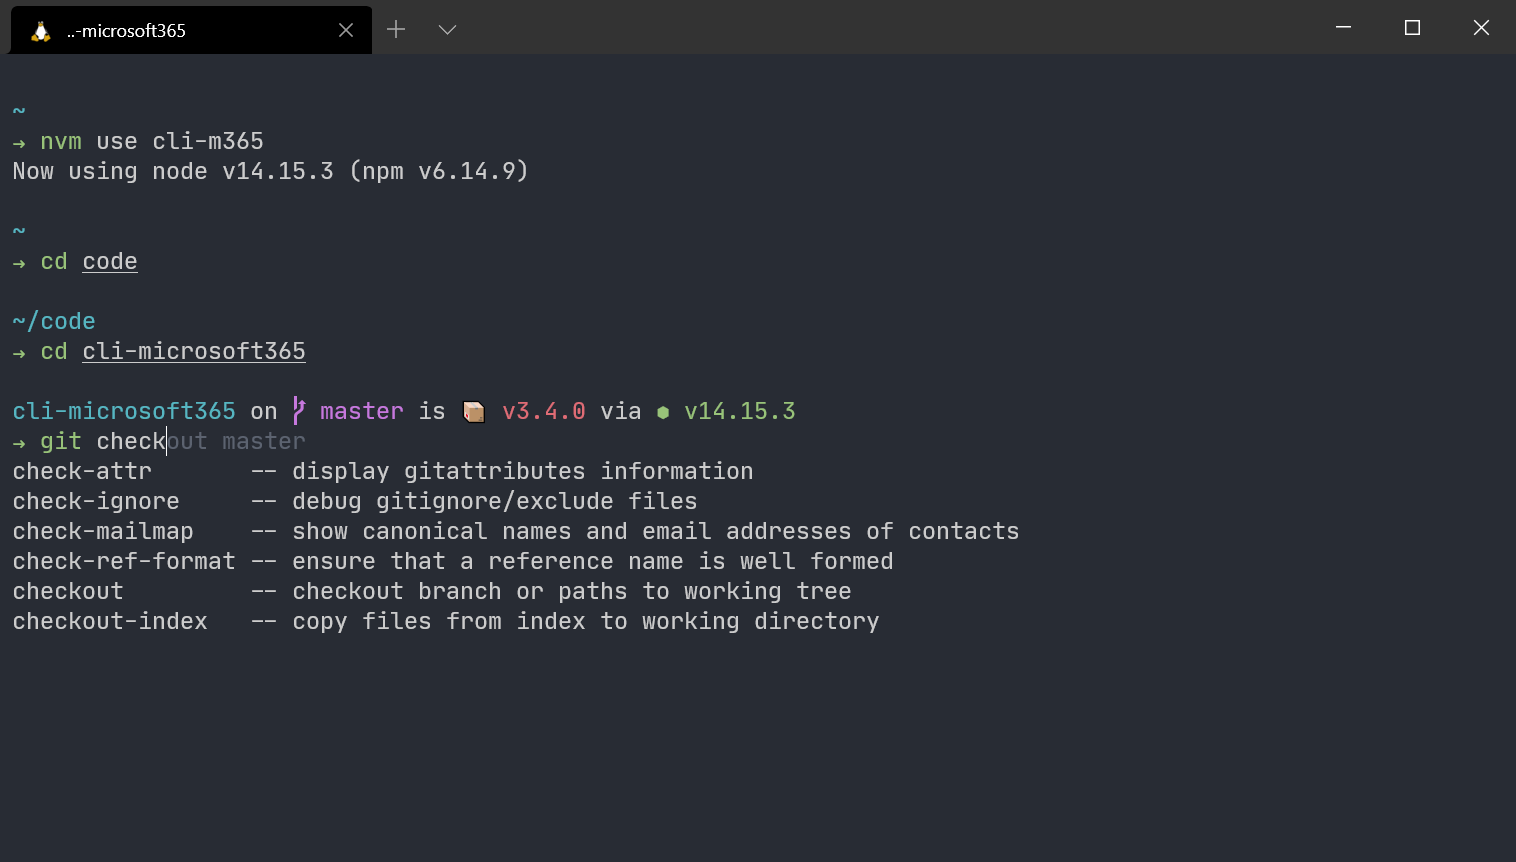
I use Spaceship ZSH as my shell theme, not only does it make my prompt look nice but it also provides extensions that helps improve my developer workflow, bringing information like the current git branch, git status, npm package version and current node version into my shell prompt for increased visibility.
I ran the script at the command line to download and install.
git clone https://github.com/denysdovhan/spaceship-prompt.git "$ZSH_CUSTOM/themes/spaceship-prompt" --depth=1
ln -s "$ZSH_CUSTOM/themes/spaceship-prompt/spaceship.zsh-theme" "$ZSH_CUSTOM/themes/spaceship.zsh-theme"
I set ZSH_THEME="spaceship" and uncommented the line in .zshrc.
I added SPACESHIP_PROMPT_ORDER array to .zshrc above source $ZSH/oh-my-zsh.sh line.
SPACESHIP_PROMPT_ORDER=(
  dir           # Current directory section
  git           # Git section (git_branch + git_status)
  package       # Package version
  node          # Node.js section
  dotnet        # .NET section
  ruby          # Ruby section
  exec_time     # Execution time
  line_sep      # Line break
  battery       # Battery level and status
  jobs          # Background jobs indicator
  exit_code     # Exit code section
  char          # Prompt character
)
The
SPACESHIP_PROMPT_ORDERarray enables you to define which sections are enabled or disabled in the prompt, this is optional but can improve the performance of the prompt. The less sections are loaded the faster the shell will load, so I enable the sections that are of use to me.
oh-my-zsh Plugins
I use these plugins to help me be more productive on the command line, they provide command aliases, highlighting and enhanced command completions.
git
This plugin comes bundled as part of the oh-my-zsh install, so doesn’t need any installation or configuration, it adds git aliases and command completions.
zsh-syntax-highlighting
I use this plugin to enable highlighting of commands whilst they are typed at the command line, helping me reviewing commands before I run them, particularly useful in catching syntax errors.
I ran the script at the command line to download.
git clone https://github.com/zsh-users/zsh-syntax-highlighting.git ${ZSH_CUSTOM:-~/.oh-my-zsh/custom}/plugins/zsh-syntax-highlighting
I added zsh-syntax-highlighting to the end of plugins array in .zshrc.
plugins=(git zsh-syntax-highlighting)
zsh-syntax-highlighting must always be last in the array to work correctly!
zsh-autosuggestions
I use this plugin to provide as you type completions based on my previous command execution history and available command completions.
I ran the script at the command line to download to download and install.
git clone https://github.com/zsh-users/zsh-autosuggestions ${ZSH_CUSTOM:-~/.oh-my-zsh/custom}/plugins/zsh-autosuggestions
I added zsh-autosuggestions to the plugins array in .zshrc.
plugins=(git zsh-autosuggestions zsh-syntax-highlighting)
Node Version Manager (NVM)
I use nvm to help manage and install multiple versions of nodejs and it makes it really easy to switch between the different versions.
I ran the script at the command line to download and install.
curl -o- https://raw.githubusercontent.com/nvm-sh/nvm/v0.37.2/install.sh | zsh
As I can use three up to different versions of nodejs for SharePoint Framework and CLI for Microsoft 365 development, I have installed node@8, node@10 and the current LTS, node@14, also creating an alias for each version, to make switching between versions based on scenario much easier.
For CLI for Microsoft 365 development, I have installed node@14, set it to be the default alias and given it a named alias of cli-m365.
nvm install 14
nvm alias default 14
nvm alias cli-m365 14
For SharePoint Online SPFx development, I have installed node@10 and created an alias of spfx-spo.
nvm install 10
nvm alias spfx-spo 10
For SharePoint On Prem SPFx development, I have installed node@8 and created an alias of spfx-onprem.
nvm install 8
nvm alias spfx-onprem 8
I can easily switch between the different versions without needing to remember the exact version required for each scenario by using the alias.
nvm use cli-m365
nvm use spfx-spo
nvm use spfx-onprem
As I’m using Spaceship ZSH for my prompt, the current selected nodejs version will be displayed clearly on the command line.
Command Line Tools
These Command Line Interface (CLI) tools enable me to manage Microsoft 365 & SharePoint Framework projects, GitHub and Azure all from the command line.
CLI for Microsoft 365
As one of the maintainers of the CLI for Microsoft 365, this is first on my list, it enables me to manage my Microsoft 365 tenants and SharePoint Framework projects from within WSL2.
I ran the script at the command line to download and install.
npm i -g @pnp/cli-microsoft365@latest
I ran the script at the command line to setup command completions for the CLI.
m365 cli completion sh setup
GitHub CLI
I use the GitHub CLI to manage my GitHub repositories from the command line, it enables me to easily clone and fork repositories as well as being able to manage pull requests and issues.
I’ve used this since early beta and it makes working with GitHub so much easier and faster.
I ran the script at the command line to download and install.
sudo apt-key adv --keyserver keyserver.ubuntu.com --recv-key C99B11DEB97541F0
sudo apt-add-repository https://cli.github.com/packages
sudo apt update
sudo apt install gh
I ran the script at the command line to configure VS Code as the default editor.
gh config set editor "code --wait"
Azure CLI
I use the Azure CLI to manage my Azure tenant from the command line.
What I really like about the Azure CLI over the PowerShell modules is the huge range of commands available and that the commands are idempotent, meaning that you can run them over and over, which makes it really quick and easy to build and test deployment scripts.
As there is no package available yet for Ubuntu 20.04 LTS, so I ran the below script to perform a manual install.
sudo apt-get update
sudo apt-get install ca-certificates curl apt-transport-https lsb-release gnupg
curl -sL https://packages.microsoft.com/keys/microsoft.asc |
    gpg --dearmor |
    sudo tee /etc/apt/trusted.gpg.d/microsoft.gpg > /dev/null
    AZ_REPO=$(lsb_release -cs)
echo "deb [arch=amd64] https://packages.microsoft.com/repos/azure-cli/ $AZ_REPO main" |
    sudo tee /etc/apt/sources.list.d/azure-cli.list
sudo apt-get update
sudo apt-get install azure-cli
I also added source /etc/bash_completion.d/azure-cli to .zshrc to setup command completions.
My Configuration Files
I’ve published the full contents of both of my zsh configuration and Windows Terminal settings to GitHub.
Zsh Configuration
This is my current .zshrc file.
Windows Terminal Settings
This is my current settings.json file for Windows Terminal.